WordPad is a word processing software application
that provide us some basic tools to create a document. It has more tools than "Notepad".
This is a by default program of any computer with Windows Operating System.
Its file extension is .rtf & its file save
with name "Document - WordPad".
Full form of RTF is Rich Text Format.
Take a look: -
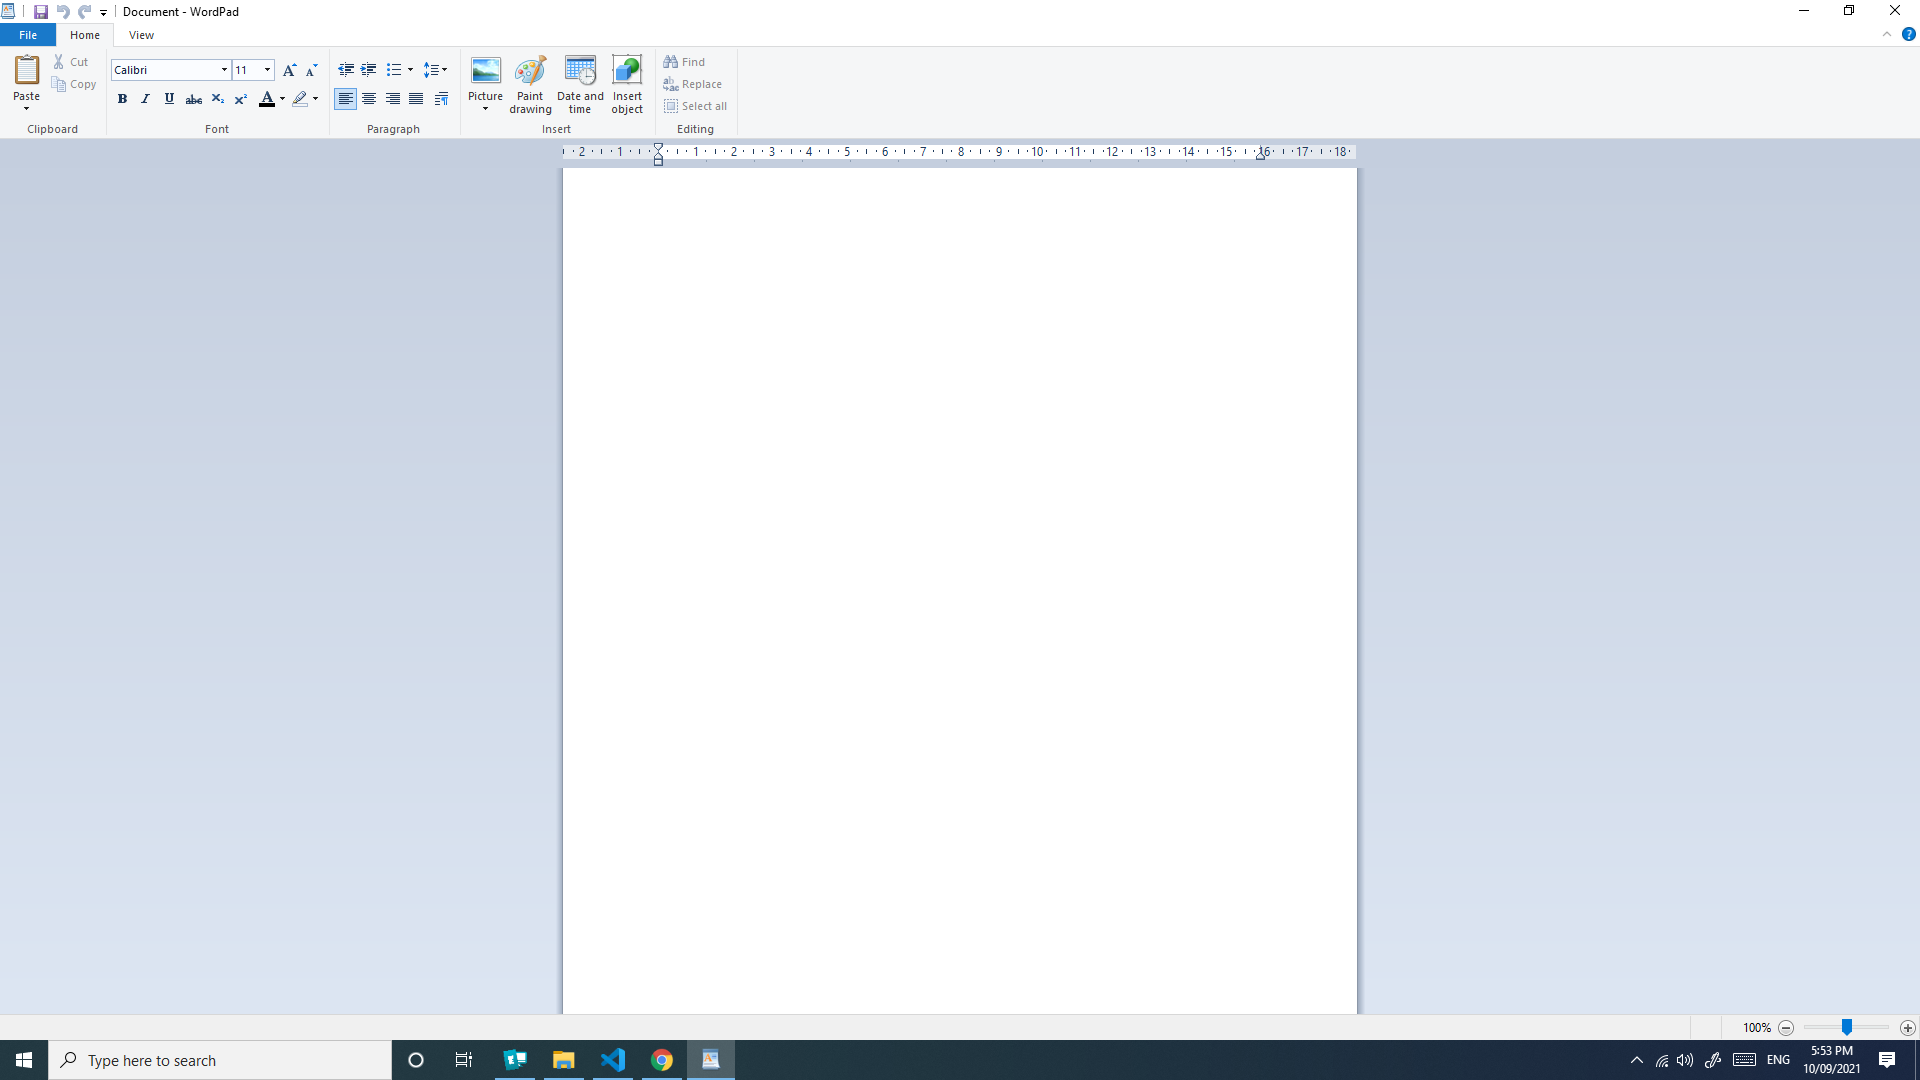
There are three menus available in WordPad:-
1). File, 2). Home 3). View
1). File: -
It is used to get an output from the application after
processing of the document. In which, you can print or save a file. You can also setup the page by "Page Setup
option" available in File Menu. Using this menu you can also share your document with your friends via
Email.
2). Home Tab: -
This menu is used to Cut, Copy & Paste the
objects in
the document.
Uses of tools available in Home Tab: -
There is five groups available in Home Tab: - 1).
Clipboard, 2). Font, 3). Paragraph, 4). Insert & 5). Editing.
i). Clipboard Group: -
a). Cut: -This function is used to cut the
selected text and use as a new item in the document. You need to select first that text you want to cut then use
Cut (Ctrl+X) then place your cursor where you want to Paste (Ctrl+V)it as new item. Once you
used
"Cut" command your selected text will be removed from the document and stored in Clipboard.
b). Copy: -This function is used to copy the
selected text and use as a new item in the document. You need to select first that text you want to Copy then
use
Copy (Ctrl+C) then place your cursor where you want to Paste (Ctrl+V)it as new item. When you
use this function, there will be no any changes shown on the selected item.
c). Paste: - When you use Cut or Copy
command in the document then you need to paste the copied item, that time you have to use this function. Its
shortcut key is Ctrl+V
Note: - Once you Cut or Copy the item then you can
Paste it multiple times in the document as new item.
ii). Font Group: -
In WordPad, you can change your
writing style using tools available in Font Group. First of all Create a document using WordPad then
select the text range which you want to format. Then apply the formats according to your need. Like:
- Bold, Italic, Underline etc.
a). Bold: -
To make your text to a heavier font. Its symbol is
“B” and shortcut is
“Ctrl+B”.
b). Italic: -
To italicize your text. Its symbol is "I"
and shortcut is
“Ctrl+I”.
c). Underline: -
To draw an underline below the text in your document. Its
symbol is "U""
and shortcut is “Ctrl+U”.
d). Strikethrough: -
Cross something out by drawing a line through it. Its
symbol is
“abc”.
e). Subscript: -
Type very small letters just below the line of text
without wrapping the line. It
specially use in “Chemistry” to write an equation. Its symbol is “X2” and shortcut is
“Ctrl+=”.
f). Superscript: -
Type very small letters just above the line of text
without wrapping the line. It
specially use in “Maths” to write a formula. Its symbol is "X2 and shortcut is
“Ctrl+Shift+=”.
g). Grow Font: -
It is used to grow the font size of the selected text. Its
shortcut key is
“Ctrl+Shift+>”.
h). Shrink Font: -
It is used to decrease the font size of the selected text.
Its shortcut key is
“Ctrl+Shift+<”.
i). Font Family: -
It is a tool that change your document's look by changing
your writing style. There is a lots of font styles available in Font Family.
j). Font Size: -
You can use this tool to resize your text size, instead
of Grow or Shrink Font Tool.
k). Text Highlight Color: -
Make your text a pop by highlighting it in a bright color.
Its symbol is
“ab”
with a Brush.
To do this,first of all select your text by keyboard or mouse cursor then click on Text Highlight
Color
option from Font group of Home Tab and choose the color that you want to apply as highlight color of the
selected text.
l). Text Color: -
To change the color of the selected text with a desired
color.
To do this, select the text/word/paragraph then click on Text Color option and choose your
color which you want to apply. Then you can see the changes in your document.
iii). Paragraph Group: -
This group is used to set the margins and format the
lists/multilevel lists by
numbering or bullets. To setting up the line spacing and indent of the paragraph.
a). Start a List: -
To write one linear questions & answers or to write topics
name with numbering
then you’ve to use List tool to apply this style.
b). Left Alignment: -
To do this, you need to select Start a List option from Paragraph group of Home Tab and type the text and press “Enter” to create new line in the document. You’ll find next Bullet/Number in the newly created line automatically.
To deactivate this, you need to press “Enter” two time without typing the text.
To write from the left side of the page you need to set
“Left Margin” from
Paragraph group. Its shortcut key is “Ctrl+L”
c). Center Alignment: -
To write in the center of the page, you need to set margin
as “Center”
from
Paragraph group. Its shortcut key is “Ctrl+E”.
d). Right Alignment: -
To write from the right side of the page, you need to set
margin as
“Right”. Its
shortcut key is “Ctrl+R”.
e). Justify Alignment: -
To adjust the left & Right margin same then you need to
set the page margin as
“Justify”. When you set the Justify margin, your written document will be adjusted in proper letter
format.
Its shortcut key is “Ctrl+J”.
f). Increase Indent: -
To set the paragraph margin you need to increase indent to
increase space before
(left side) paragraph. Its shortcut key is “Ctrl+M”.
g). Decrease Indent: -
To decrease space before paragraph you need to use this
tool. Its shortcut key is
“Ctrl+Shift+M”.
h). Line Spacing: -
To view the Rows & Paragraphs in separated, you need to
set line spacing &
Paragraph spacing from Paragraph Group. (There is no any shortcut to do it.) You can use “Add Space After
Paragraph” option from “Line Spacing” tool to separate paragraphs.
iv). Insert Group: -
Using this group, you can insert more extra objects like
Pictures, Tables, Word Files, Excel Files, Insert Date & Time etc. in the document.
v). Editing Group: -
a). Find: - To find any specific word across the document you've to
use this tool.
b). Replace: -
It is used to replace any word or text in the document.
c). Select All: -
Using it, you can select any object in the document.
3). View: -
a). Using it, you can do Zoom In & Zoom Out the
page.
You can also enable/disable Status Bar & Rulers using it.
b). You can change measurement units using it.
c). You can also enable or disable Wrap Text
Function in WordPad using it.